There are many ways to share surfaces between civil software packages. I prefer to use LandXML, but what if that isn't an option? What if the recipient wants the tin to be lines with 3d elevations?
If you export a Civil 3D surface to AutoCAD (or explode it twice), you are left with 3d faces. You can explode them as many times as you want, but you're still left with 3d faces.
Thanks to Google, I found the solution: Regions
In the AutoCAD drawing that contains the 3D faces, execute the region command and select the 3d faces. Now explode the regions that you created and you'll have lines with 3d elevations.
Yes, it's really that simple.
Thanks to Mike Perry for sharing his knowledge on the AUGI forums.
A blog about AutoCAD and AutoCAD Civil 3D for civil engineering professionals.
Friday, September 24, 2010
Wednesday, September 22, 2010
The Edit Geometry Panel...It's Not Just For Feature Lines
For those of you that haven't made the jump to Civil 3D 2011 yet, here's a tip for you.
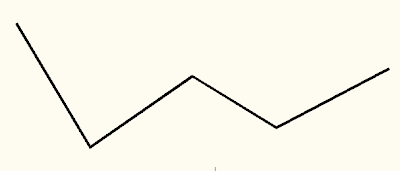
We'll start by drawing a polyline roughly in the shape of a W.
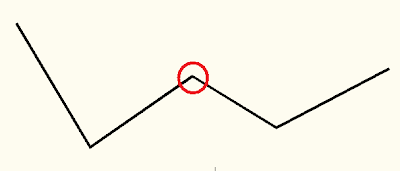
 We will now remove the PI inside the red circle.
 Select the Modify Ribbon Tab.
 Now locate the Edit Geometry Panel.
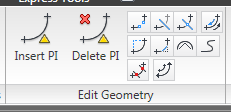
Left click on the Delete PI icon. The command line prompts you to "Select object:", so left click on the polyline to select it. The polyline you select will now have triangles at each PI. These triangles will be gray by default.
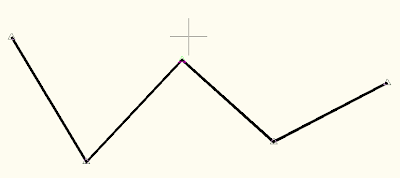
The command line now prompts you to "Specify point:". As you move your mouse near a PI, the gray triangle nearest to the mouse cursor turns green to indicate which PI will be selected.
Move your cursor inside the red circle and left click to select the PI you want removed. The selected PI will immediately be removed from the polyline.
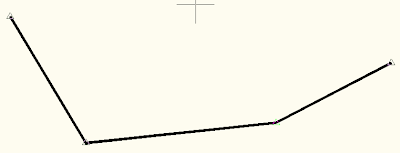 The Insert PI command works on polylines too. In fact, you can even insert PI's at a specific distance or at a specific increment along the polyline.
 This command sequence works in Civil 3D 2011 too, but there are new enhancements with polylines in AutoCAD 2011 that you might prefer.
We'll start by drawing a polyline roughly in the shape of a W.
 We will now remove the PI inside the red circle.
 Select the Modify Ribbon Tab.
 Now locate the Edit Geometry Panel.
Left click on the Delete PI icon. The command line prompts you to "Select object:", so left click on the polyline to select it. The polyline you select will now have triangles at each PI. These triangles will be gray by default.

The command line now prompts you to "Specify point:". As you move your mouse near a PI, the gray triangle nearest to the mouse cursor turns green to indicate which PI will be selected.
Move your cursor inside the red circle and left click to select the PI you want removed. The selected PI will immediately be removed from the polyline.
 The Insert PI command works on polylines too. In fact, you can even insert PI's at a specific distance or at a specific increment along the polyline.
 This command sequence works in Civil 3D 2011 too, but there are new enhancements with polylines in AutoCAD 2011 that you might prefer.
Subscribe to:
Comments (Atom)