Have you ever wanted to offset a line multiple times within one command? See how after the jump...
We'll begin by creating a polyline in a drawing. To make this a real world example, we'll assume this
blue polyline represents the face of curb.
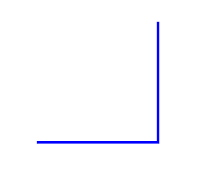 |
| Figure 1 |
At the command line, type the letter
O and then press
ENTER to execute the offset command. You can also use the offset tool in the ribbon.
Ribbon =>
Modify =>
Offset
 |
| Figure 2 |
When prompted, enter the desired offset distance (
0.5 for the curb we are designing) and press
ENTER.
 |
| Figure 3 |
Next you'll be prompted to select the object to offset. Left click on the object to offset (
blue polyline in Figure 1).
 |
| Figure 4 |
This is the tricky part here: Before you select the offset side, type the letter
M at the command line and then press
ENTER.
 |
| Figure 5 |
The command line will again prompt you to specify the point on side to offset, but this is the cool part:
You can keep selecting sides to offset! You can also switch from one side of the original object to the other side. For this face of curb example, select one time near Selection Point #1 in Figure 6, then three more times near Selection Points #2, #3, & #4 as shown in Figure 6.
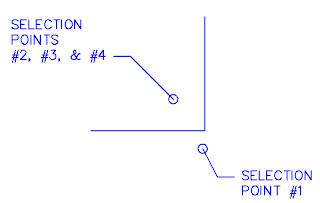 |
| Figure 6 |
When you've completed the offset side selections, press
ENTER. You will then be prompted to select another object to offset. Proceed with additional offsets or press
ENTER again to complete the command.
 |
| Figure 7 |
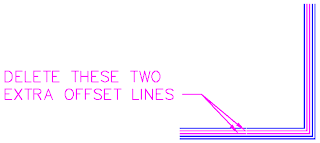
Now you have the offsets you need for the curb, but there's two extra offsets that need to be deleted. The extra offsets that need to be deleted are shown as
magneta lines in Figure 8.
 |
| Figure 8 |
The final results should look like this:
 |
| Figure 9 |
Hopefully this multiple offset feature will help you be more efficient and productive on your next project.


No comments:
Post a Comment